My mom wanted me to cut some Styrofoam. I had a nichrome wire that had been crudely attached in place of a blade on a small saw. I think I made this in Grade 6, when my teacher gave me a small length of nichrome (Nickel/Chromium) wire especially for this purpose. Unfortunately, finding a power supply that could power it was another problem.
The nichrome wire has a fairly low resistance, and would draw too much current from a small power cube, even a 5V one. I eventually realized that I could power it off a 12V backup car battery, but when I connected it to the 12V source directly, the approximately 4.5A current caused it to glow red hot within a matter of seconds.
I knew I had to limit the current, so I searched through my resistors for my highest power resistor: a 20ohm, 5W, brick-like thing. Unfortunately, it limited the current too much: the resulting 0.5A flow didn’t warm up the cutting element enough to make a dent in the styrofoam. From fooling around with the nichrome wire, I figured that I’d need about three times that amount, 1.5A, to be able to cut the styrofoam.
My first thought was to add a second 20ohm, 5W resistor in parallel with the first resistor, giving twice the current flow. Unfortunately, our local “The Source” (what Radio Shack got renamed to in Canada) didn’t have anything appropriate. So the project was dead.
Until I realized that I could use pencil leads as my resistors. I knew they would have a low resistance, that they would be able to sink a lot of power, and that their resistance would be adjustable (just slide the electrodes along the lead, increasing the distance between the electrodes and therefore also increasing the resistance). I quickly abandoned the idea of taking a perfectly good wood pencil and splitting it open and instead pulled out a tube of 0.9mm diameter mechanical pencil leads that I bought in England when I was 13. (I lost the pencil long ago, and never managed to find a wide-enough replacement pencil at any stores in Canada).
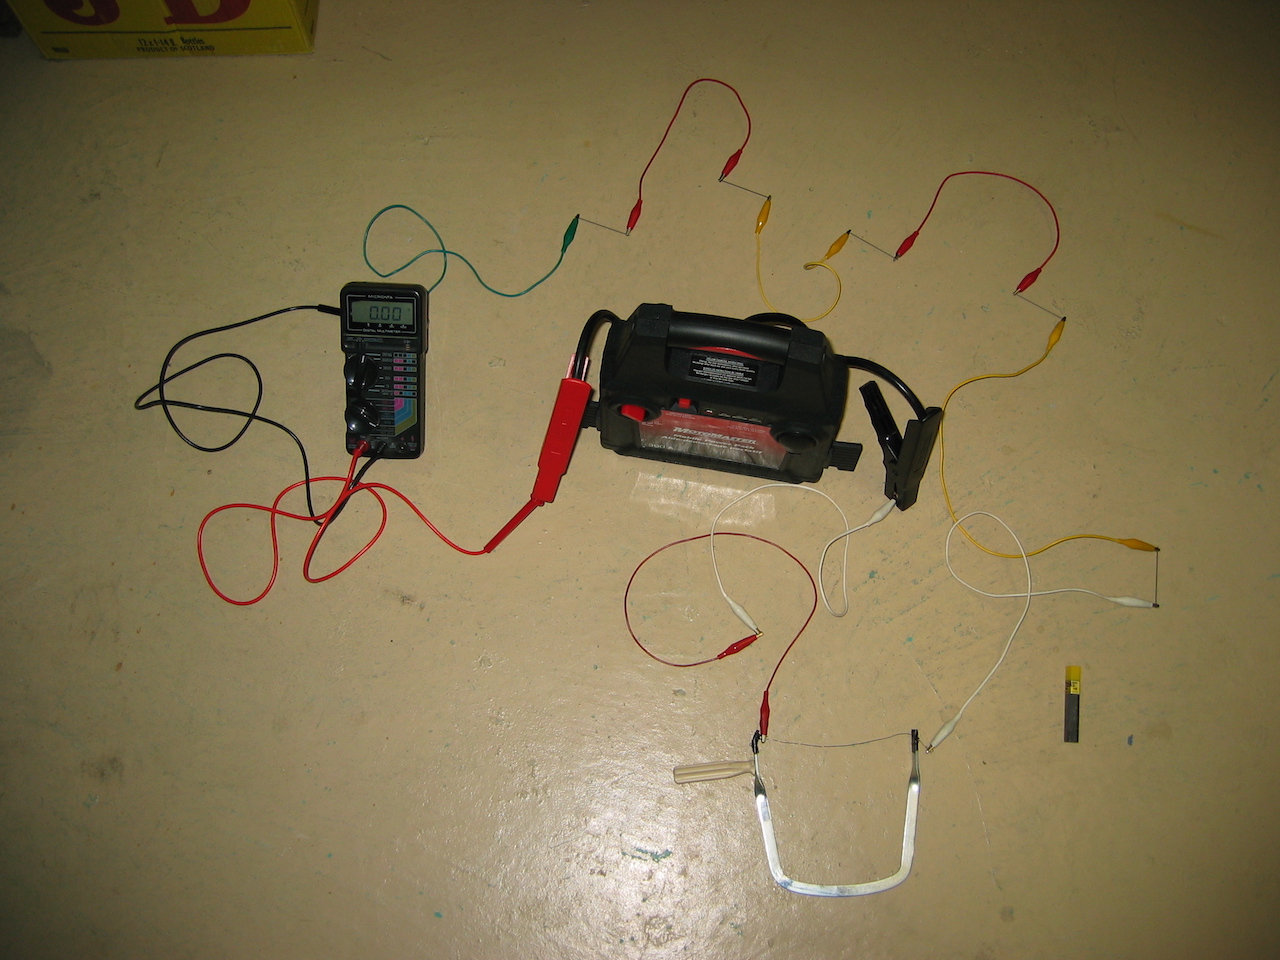
Using my multi-meter, I measured the resistance of one lead to be almost right on 1 ohm. Since I was using a 12V source, I knew that 6 leads (6 ohms) would give me a current flow of about 2A. But I had to take into account the resistance of the nichrome wire itself, so I figured that 5 leads would probably provide enough resistance to limit the current to my desired 1.5A, when also in circuit with the nichrome wire. So I made the following circuit:

I initially had some difficulties, as my multimeter would initially show a small current that very quickly decreased to zero. I thought that perhaps my resistance measurements of the pencil leads had been incorrect, so I moved the alligator clips on a number of the leads closer together, and still had the same result when I applied power. After a few attempts at decreasing the resistance, I noticed a puff of smoke come off of one of the leads! I looked at my multi-meter again and realized that the mode switch was stuck somewhere between DC Amps and AC Amps, and so the meter was in AC Amps mode, and my circuit had been working fine all along.
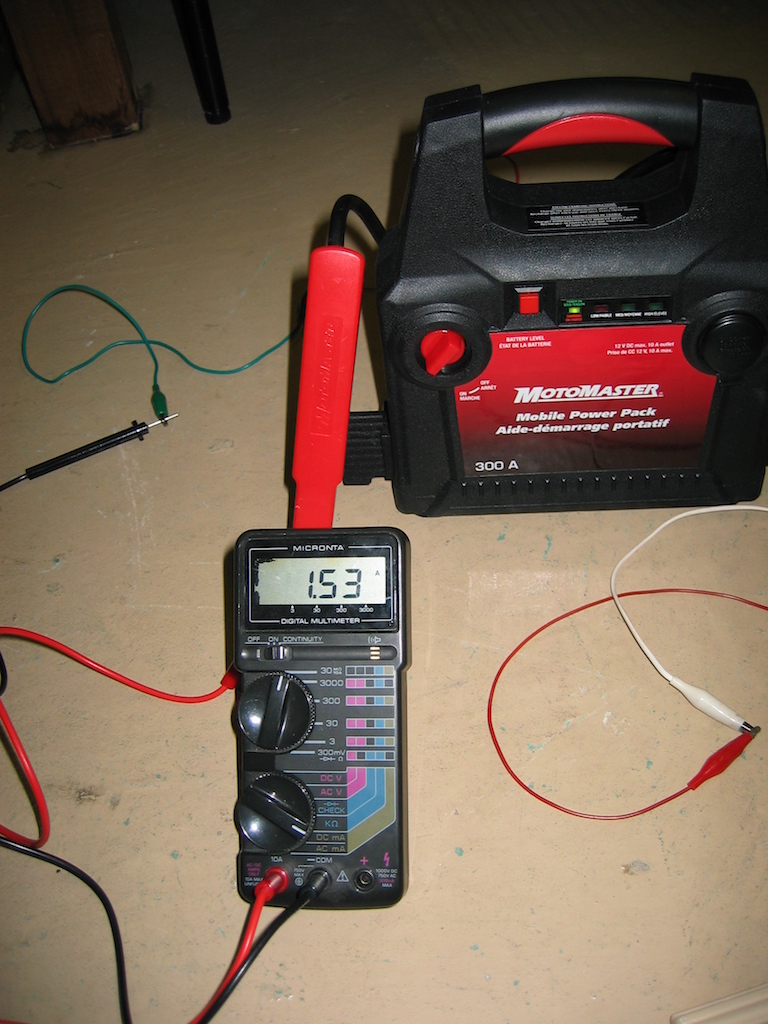
I moved all my alligator clips back to their original positions at either end of each pencil lead, put the meter into the correct mode, and switched on the power:

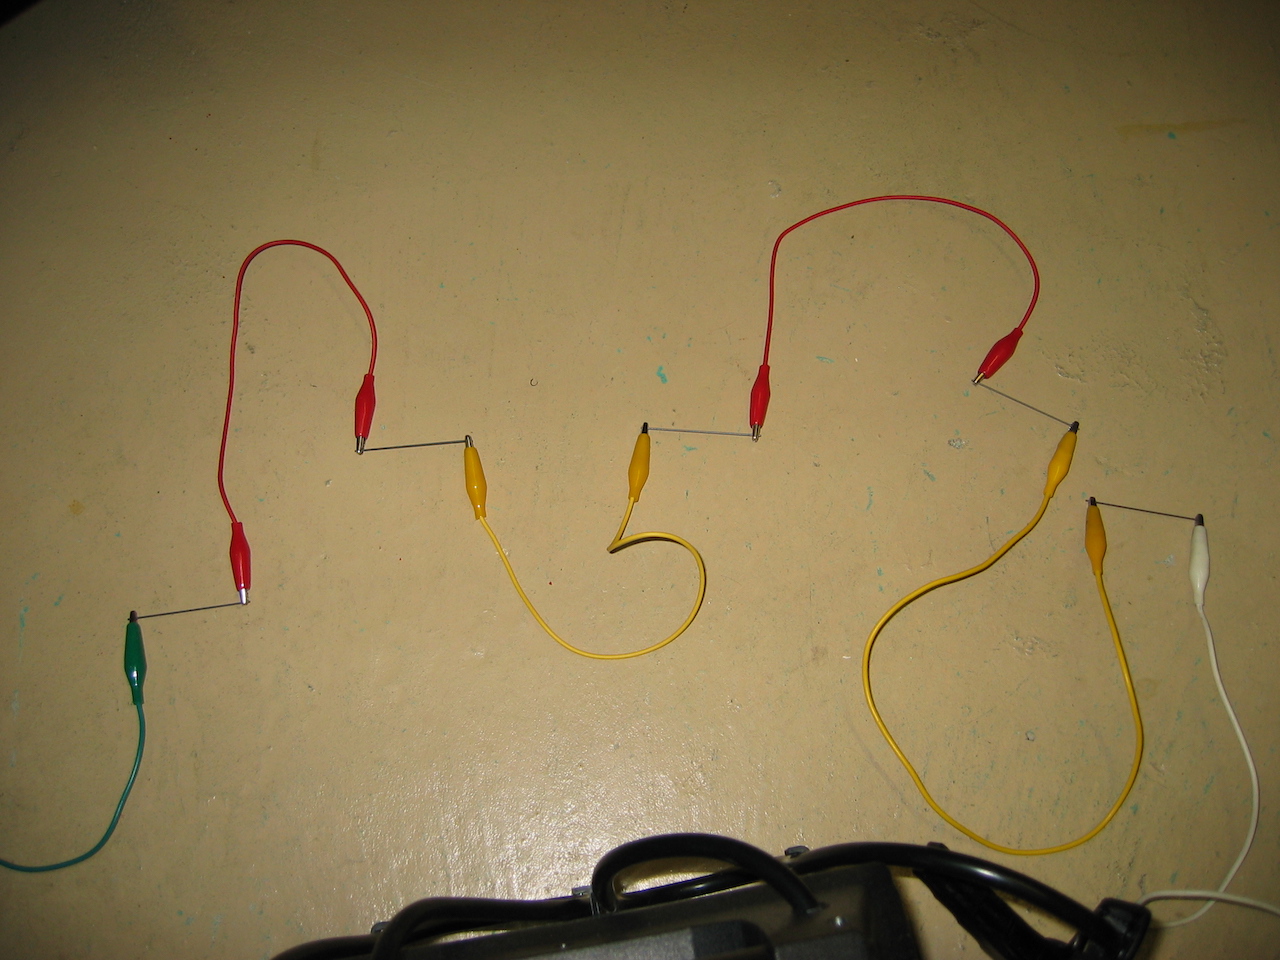
As you can see, I got a current flow between 1.5 and 2.0 amps, which is exactly what I wanted. The nichrome wire didn’t glow, yet it slid through the styrofoam like a hot knife through butter =). Here’s a picture of my pencil lead resistor network:

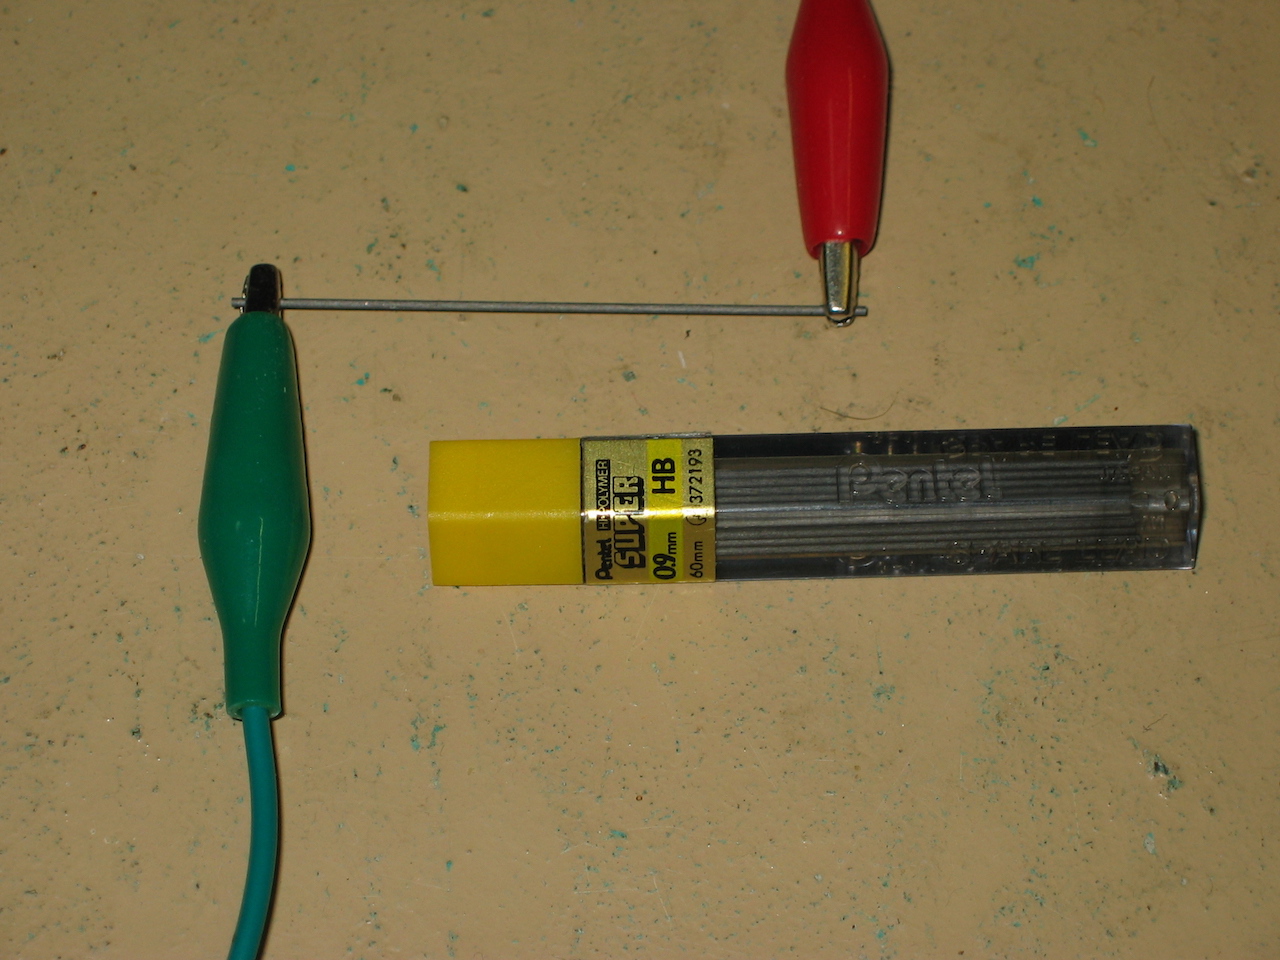
Sure, it’s a bit of a rat’s nest of wires, but it got the job done and was easy to set up and tear down. Finally, here’s a close-up of one of the pencil lead resistors:

So, the next time you need a high-power, low-resistance conductor, just look around your desk–the solution is probably staring you in your face!